Course Catalogs make it easier for users to browse through and locate training that is applicable to them. Administrators can assign audiences to Course Catalogs to ensure that the appropriate users see the training resources within the catalog.
Before actually creating a Course Catalog in the LMS, you should have a basic outline of the organizational structure of the catalog. The Course Catalog can have several top level categories, and then categories and sub-categories can be nested under each of these. Having a consistent layout across all of these directories will help your learners more easily find courses. When setting up the Course Catalog, try not to nest down too many levels. You want to try to limit the number of steps or “clicks" that it will take a learner to locate a course.
Once you have an overall structure laid out, you are ready to create the Course Catalog in the LMS.
When initially creating a new Course Catalog, it may be quicker to use the Curricula Import Wizard to create the initial catalog curriculum, and then use the Maintain Course Catalog screen to make any necessary changes. See Importing Curricula for more information.
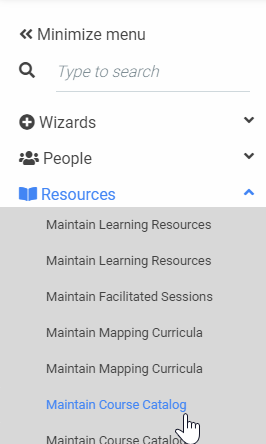
From the Administrator's Console, open the Navigation Bar and select Resources > Maintain Course Catalog.
Click the New button to create a new Course Catalog. To edit an existing Course Catalog, click on the title and click the Edit button.

The Overview tab of the Course Catalog will appear. For a new Course Catalog, enter the title of the catalog in the Title field. The Description field is optional, but it can be helpful to ensure that others understand the purpose of the catalog.
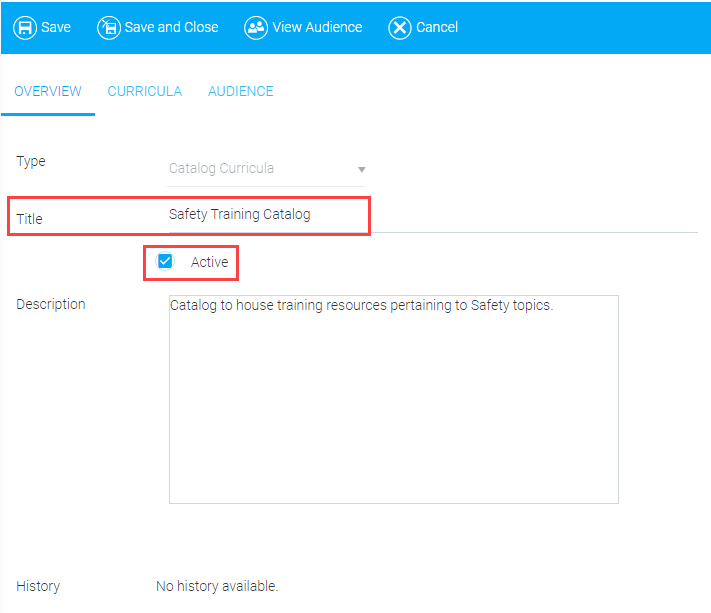
Check the Active box to ensure that the catalog will be visible in the list of Course Catalogs.
The audience of the Course Catalog must be defined before you can save and close. This can be accomplished through the Audience tab which is described below.
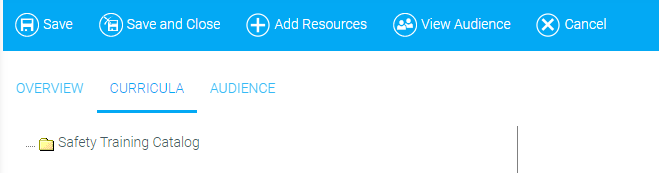
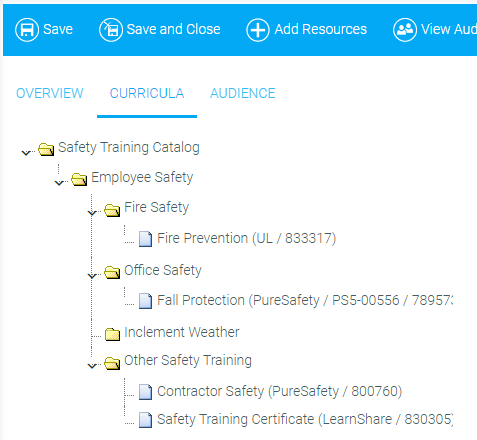
The Curricula tab will initially just show the top level folder. This folder will display the Catalog Curricula title. This title is not visible to end-users.
The Audience of the Course Catalog must be defined before you can add resources to the curricula.
Right click on the top level folder and click Add Curricula Level.

This new curricula level will be one of the top levels of your catalog. Enter the name of the curricula level in the Description field.
Since the LMS automatically merges catalogs for the end-user, each curricula must have a unique name across all catalogs in the LMS. If two catalogs have the same name for a curricula level, the user will only see the resources of one of those catalogs in their Course Catalog.

Right-click on the new level and select Add Curricula Level. This will add lower levels to the directory.
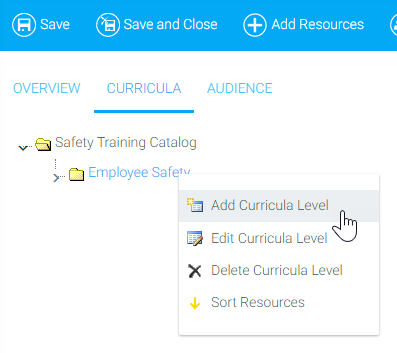
You can also select:
Continue adding levels and sub-levels until the structure is complete.
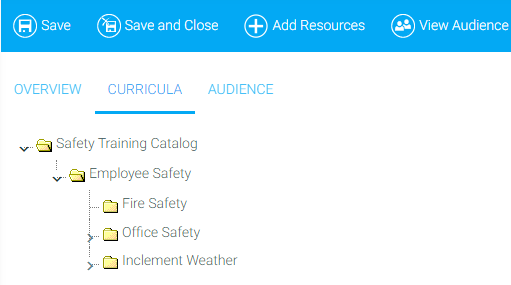
Once the structure is complete, click the Add Resources button to begin adding courses to the curriculum.

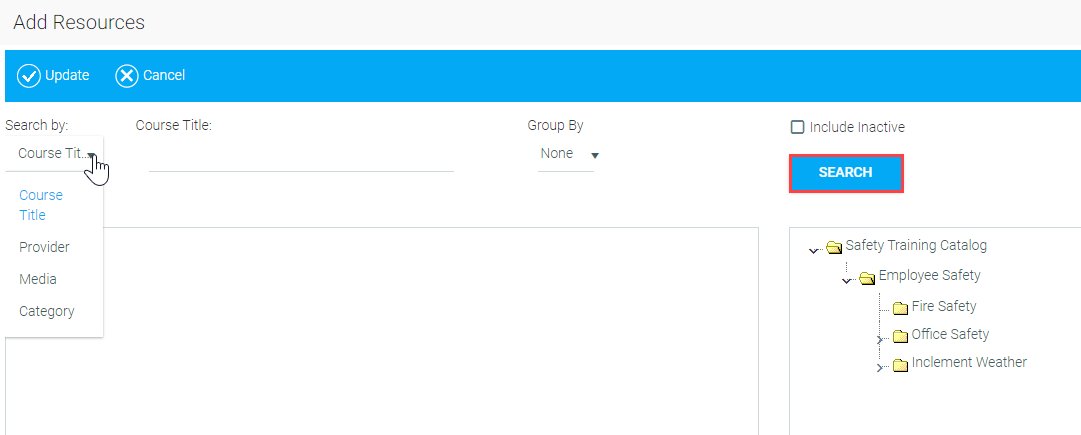
If you do not see the Add Resources button, click Save to refresh the screen. The Add Resources button is only visible once an audience has been created and saved.
The Add Resources pop-up box will appear. Search for the desired courses. You can search by a specific course title, course provider, media type, resource type, or course category. When adding multiple courses to a curricula, it is usually quicker to search with broad options so that you can quickly pull over multiple courses. Click the Search button to see your results.
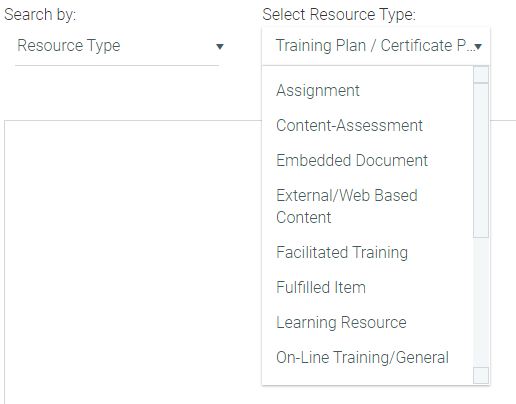
When searching by Resource Type, you will need to select the type of resource from the provided drop-down menu. Please note that the default search by resource type (certificate, facilitated training, assignment, etc.) can be changed according to each client's needs. To have your organization's default search by resource type changed, please contact the Support Team.
Click the selected resource(s) and drag and drop them to the appropriate curricula level. Use the CTRL key to select multiple resources.
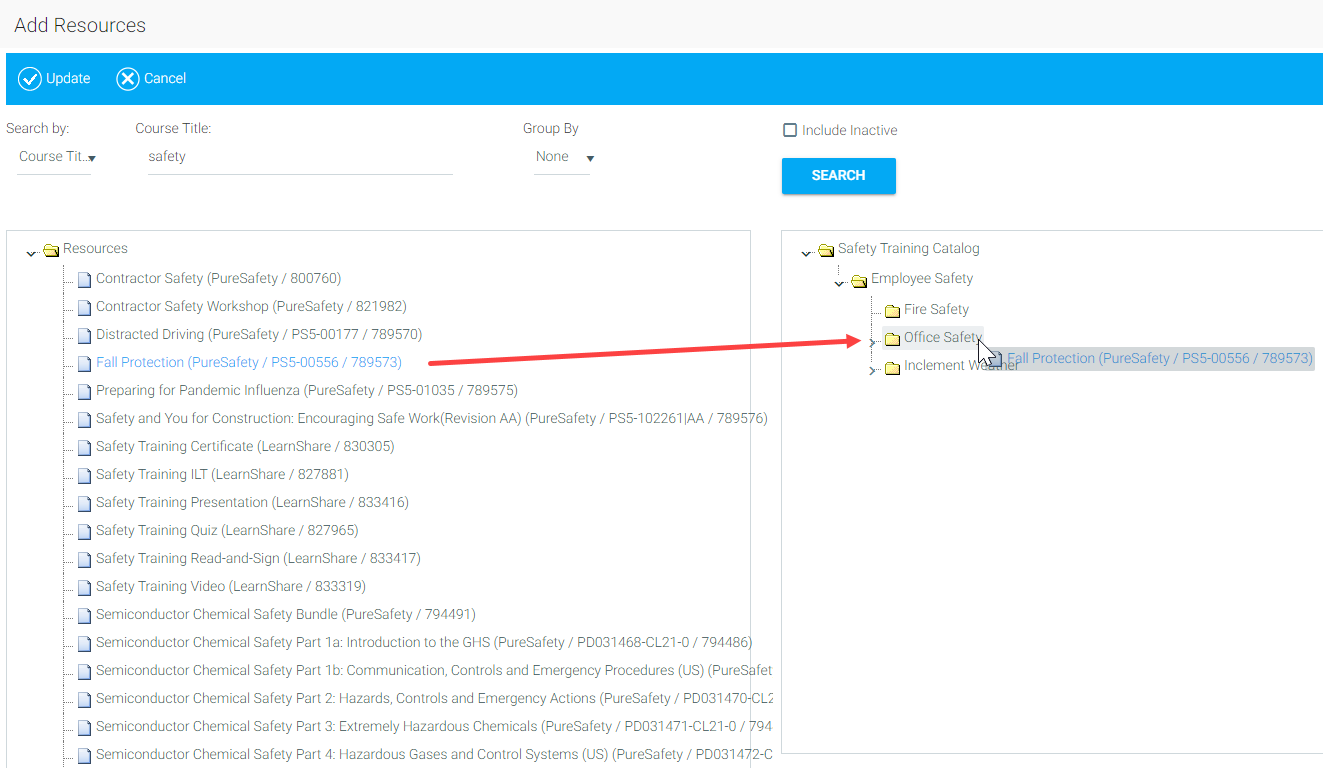
Repeat the process until all desired resources have been added to the curricula.
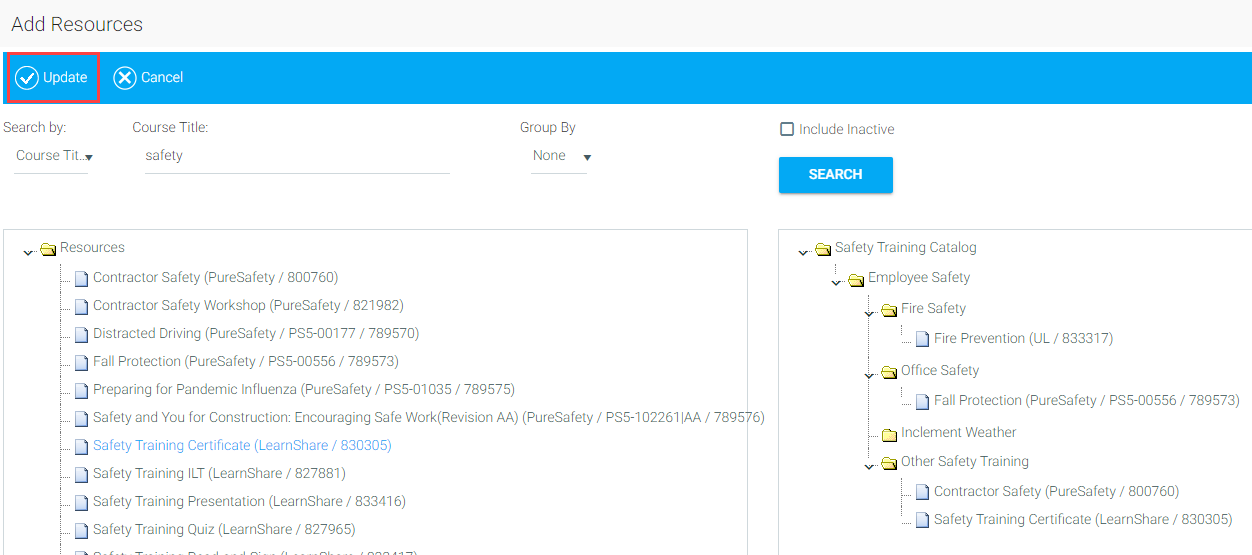
The pop-up box will close and the structure with the added resources will display.
The audience for the catalog must be set before you can save and close. To begin assigning an audience, click the Audience tab. You can set the audience by using an existing audience template or by using the Audience Rules Engine.
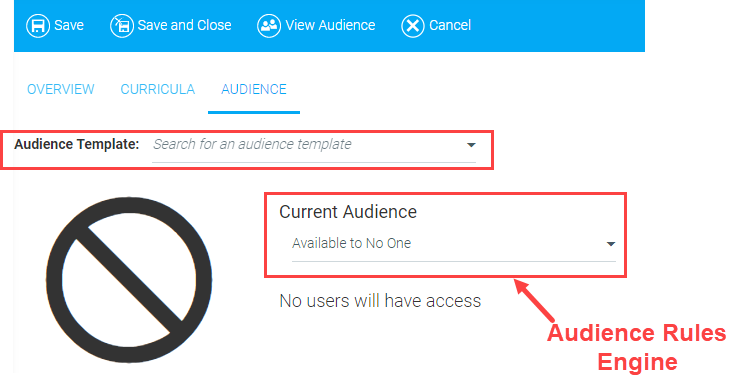
To use an existing audience template, begin typing the name of the template in the Audience Template field. Click on the name of the desired template once it appears in the drop-down. Remember, this is for existing audience templates only. If you wish to create an audience template to be used for this Course Catalog, see Creating an Audience Template.
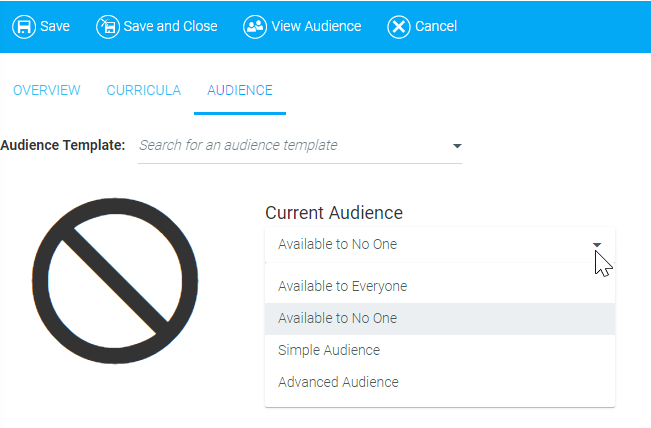
The Audience Rules Engine allows you to quickly make the catalog available to everyone or no one, or to assign simple or advanced rules that will only apply to this catalog. The audience rules created on this screen will not be reusable in other resources, catalogs, etc. For instructions on creating audience rules, see Creating a Simple Audience Rule and Creating an Advanced Audience Rule or visit the Using Audiences section of the Online Help.
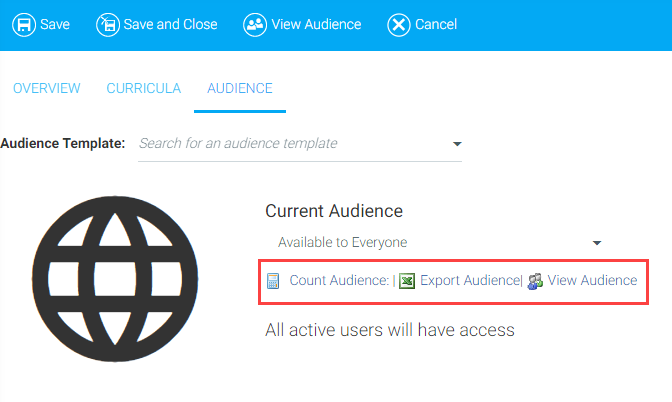
Once you have assigned an audience to the catalog, you will have the ability to:
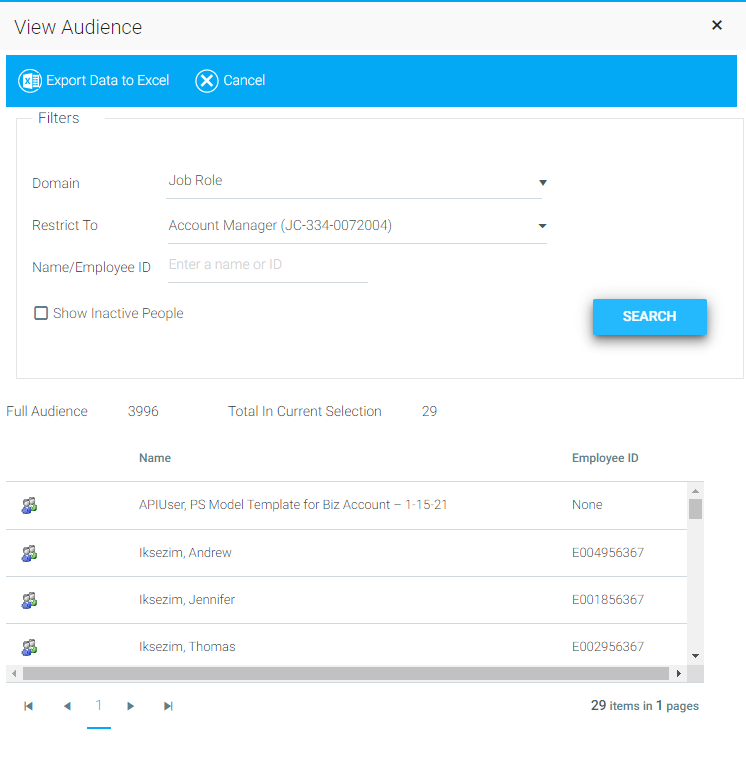
The same screen will appear by clicking the View Audience button in the top Tool Bar. This button is accessible from any tab within the Maintain Course Catalog screen.
Click the Save and Close button. You will now be able to see the catalog listed on the Maintain Course Catalog page.
Once the catalog has been saved, the History buttons will appear. Click View History to see a list of changes made to the catalog. Click Add Note to History to leave your own note to be displayed in the catalog's history.
